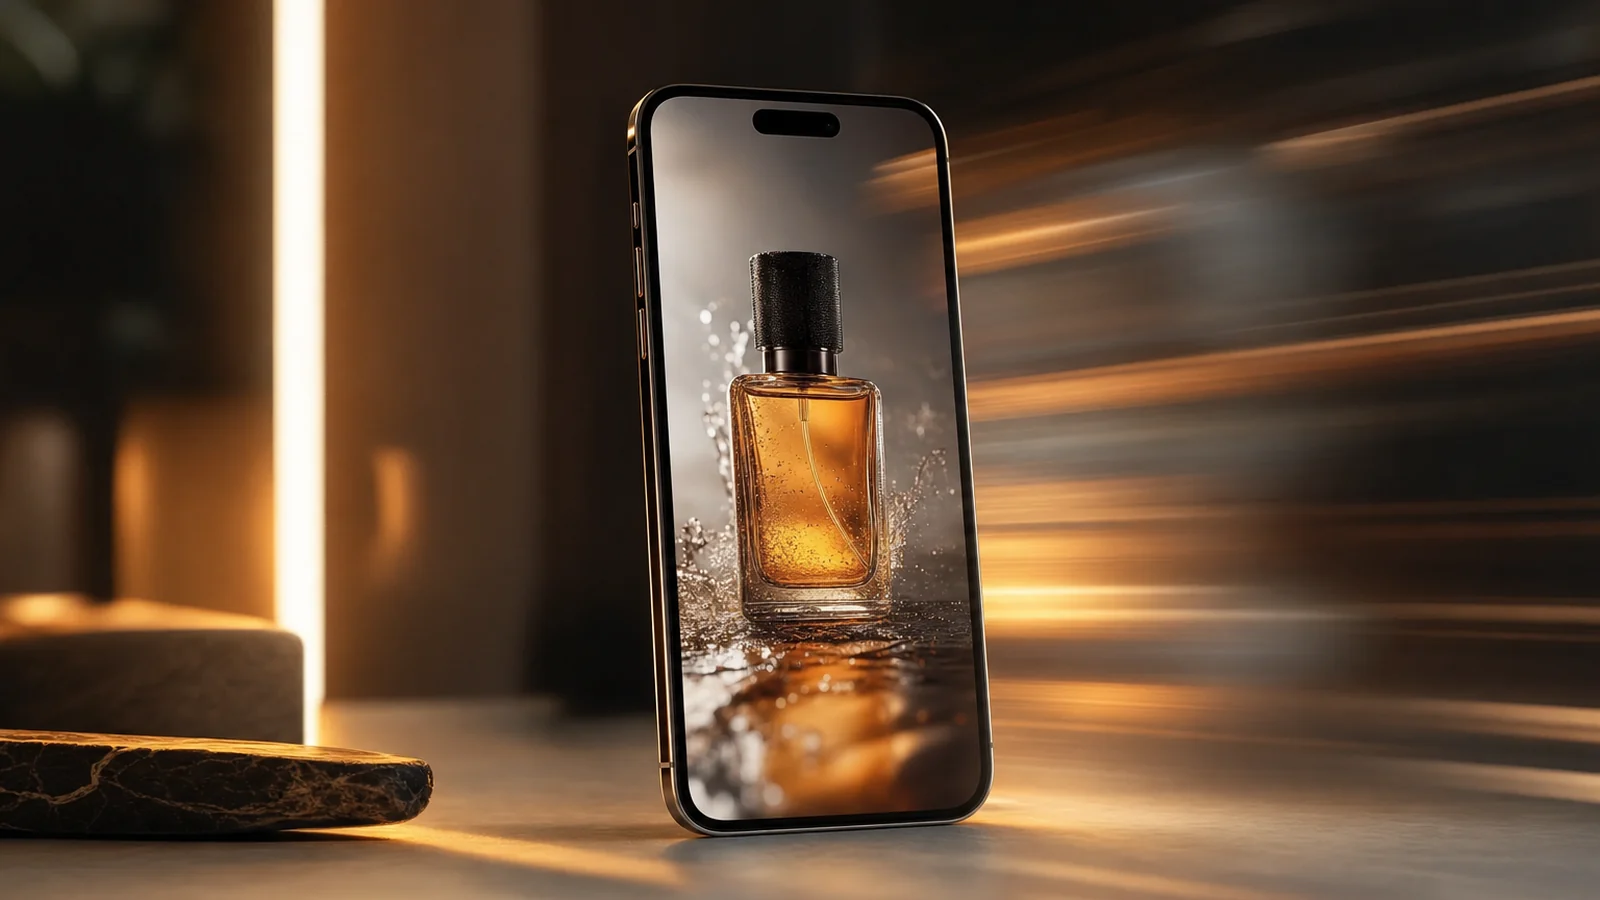
Photo-to-video AI does something that felt like magic two years ago: you give it a still image, and it hands back a short video — the subject moves, the camera drifts, the scene comes alive. It’s the fastest way to make video without filming anything, and it’s why “photo to video AI” is one of the most-searched phrases in the whole AI space.
This guide covers what photo-to-video AI actually does, whether you can do it for free, and a clear step-by-step for animating your own images — whether that’s an old family photo, a product shot, or a generated character.
What “photo to video AI” actually means
It’s a model that takes one still image as the starting frame and generates motion from it. Unlike text-to-video (which invents a scene from a description), photo-to-video preserves your image and adds movement — so the person, product or place in your photo is the one that moves, not an AI approximation of it.
That distinction is the whole appeal. You keep control of the subject and only hand the AI the hard part: believable motion. The result is a short clip — usually a few seconds — that you can post, loop, or drop into a longer edit.
Is there a free photo to video AI?
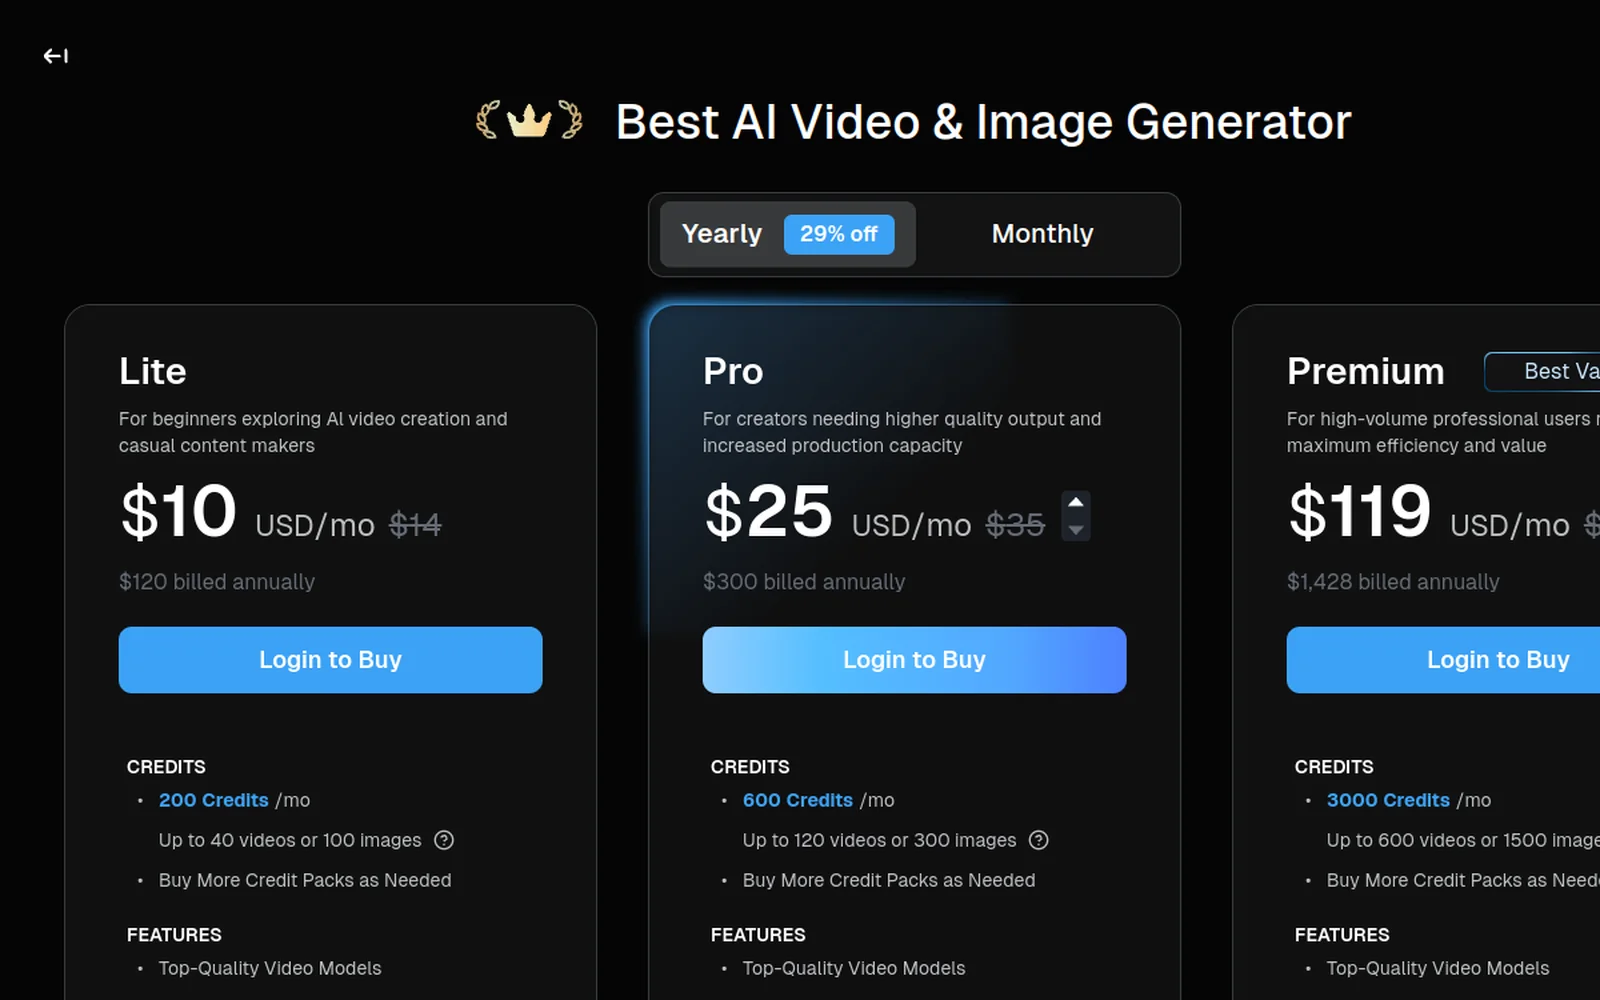
Mostly yes, with limits. Most tools — Deevid AI included — let you animate photos on a free tier so you can test the quality, but free output is typically watermarked, lower-resolution, and capped in length or credits. To export clean, watermark-free, commercially-usable clips, you move to a paid plan (Deevid’s starts at $10/month).
So “free photo to video AI” is real for testing and casual use — just expect a watermark until you upgrade. Confirm the quality on your kind of photos first; our is Deevid AI legit piece explains why testing before paying matters.
How to turn a photo into a video, step by step
Here’s the walkthrough, then the steps:
1. Upload a clean photo
Start with a clear, well-lit image. A sharp subject on a readable background animates far more reliably than a blurry or cluttered one. Higher-quality input means more stable, believable motion.
2. Describe the motion you want
This is the key step. Tell the model what should move and how: “slow zoom in,” “the person turns and smiles,” “gentle camera pan across the scene,” “the product rotates.” Keep it to one simple, believable motion — over-ambitious prompts warp the image.
3. Pick a model and length
Choose a model suited to the shot (realistic for people and products, stylised for creative clips) and keep the clip short — 3 to 6 seconds is the sweet spot for clean, loopable motion.
4. Generate and iterate
Run it, then judge the motion. If a face distorts or the movement looks off, adjust the motion description (not the photo) and regenerate. Two or three takes per clip is normal — AI video is iterative.
5. Export
Once you’re happy, export. On a paid tier the clip is watermark-free with commercial rights — needed if you’re posting it for a brand or selling it.
Free vs paid photo-to-video: the real difference
Search “photo to video AI free” and you’ll find a long list — Canva, Adobe Firefly, and a dozen newcomers all offer free image-to-video. So why pay? The honest breakdown:
What the free tools give you: a quick animation, usually low-resolution, almost always watermarked, often capped at a few clips, and frequently behind a sign-up. For a one-off experiment, they’re fine.
Where they stop: the watermark makes them unusable for anything public or commercial; resolution and length are limited; and most do only image-to-video — no voice, no music, no choice of model. The moment you want a clean, owned clip — or a whole short with sound — the free tier runs out of road.
The paid difference isn’t just “no watermark.” It’s control: multiple video models so you can match the engine to the subject, bundled voice and music so the clip is finished in one place, higher resolution, and a commercial license. On Deevid that starts at $10/month — cheaper than most standalone video tools, and it covers far more than animation alone.
The smart approach is the one we recommend across every tool: test the free tier to confirm quality on your photos, then upgrade only once you know it works. You lose nothing by starting free; you just don’t publish watermarked output.
Can you add voice to a photo video?
Yes — and it’s an underrated upgrade. A still photo with motion and a voiceover or music reads as a finished piece, not a tech demo. On tools that bundle audio (Deevid does on its Pro tier), you animate the photo and add an AI voice or music track in the same interface, then export one complete clip. For talking portraits, narrated old-photo tributes, or product ads, the audio is what turns a nice animation into something people actually watch to the end.
What kinds of photos work best
- Portraits — animate a smile, a turn, a blink. Great for profile content.
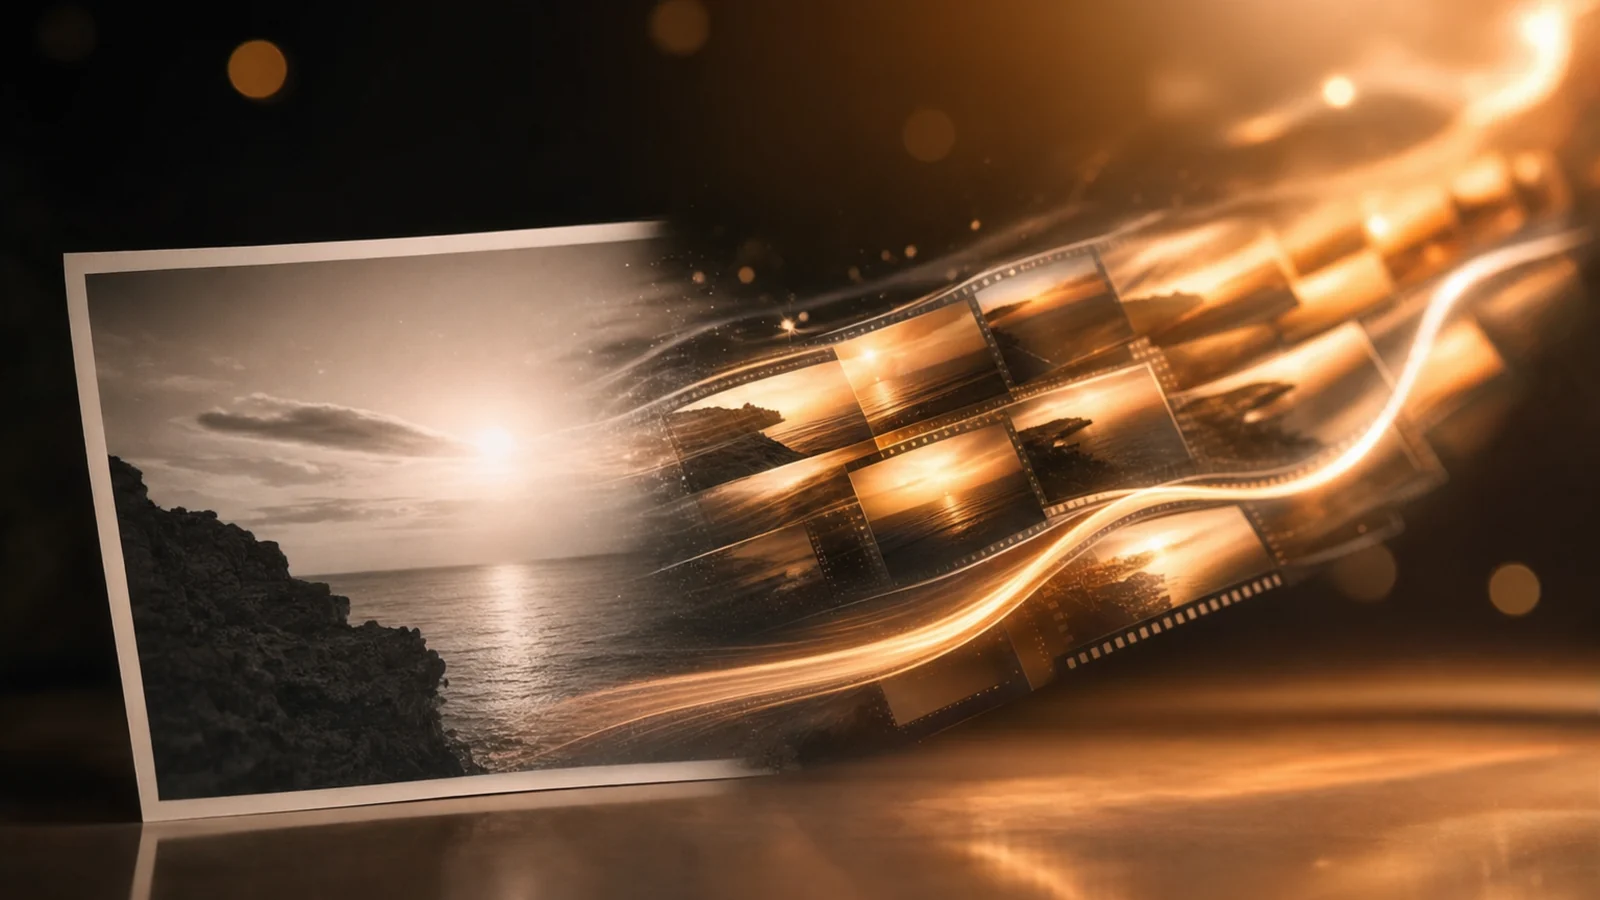
- Old photos — bring family archives to life with subtle motion (a hugely popular use; we cover the old-photo angle too).
- Products — a clean rotation or reveal turns a catalogue shot into an ad.
- Landscapes and scenes — a slow pan or parallax adds cinematic depth.
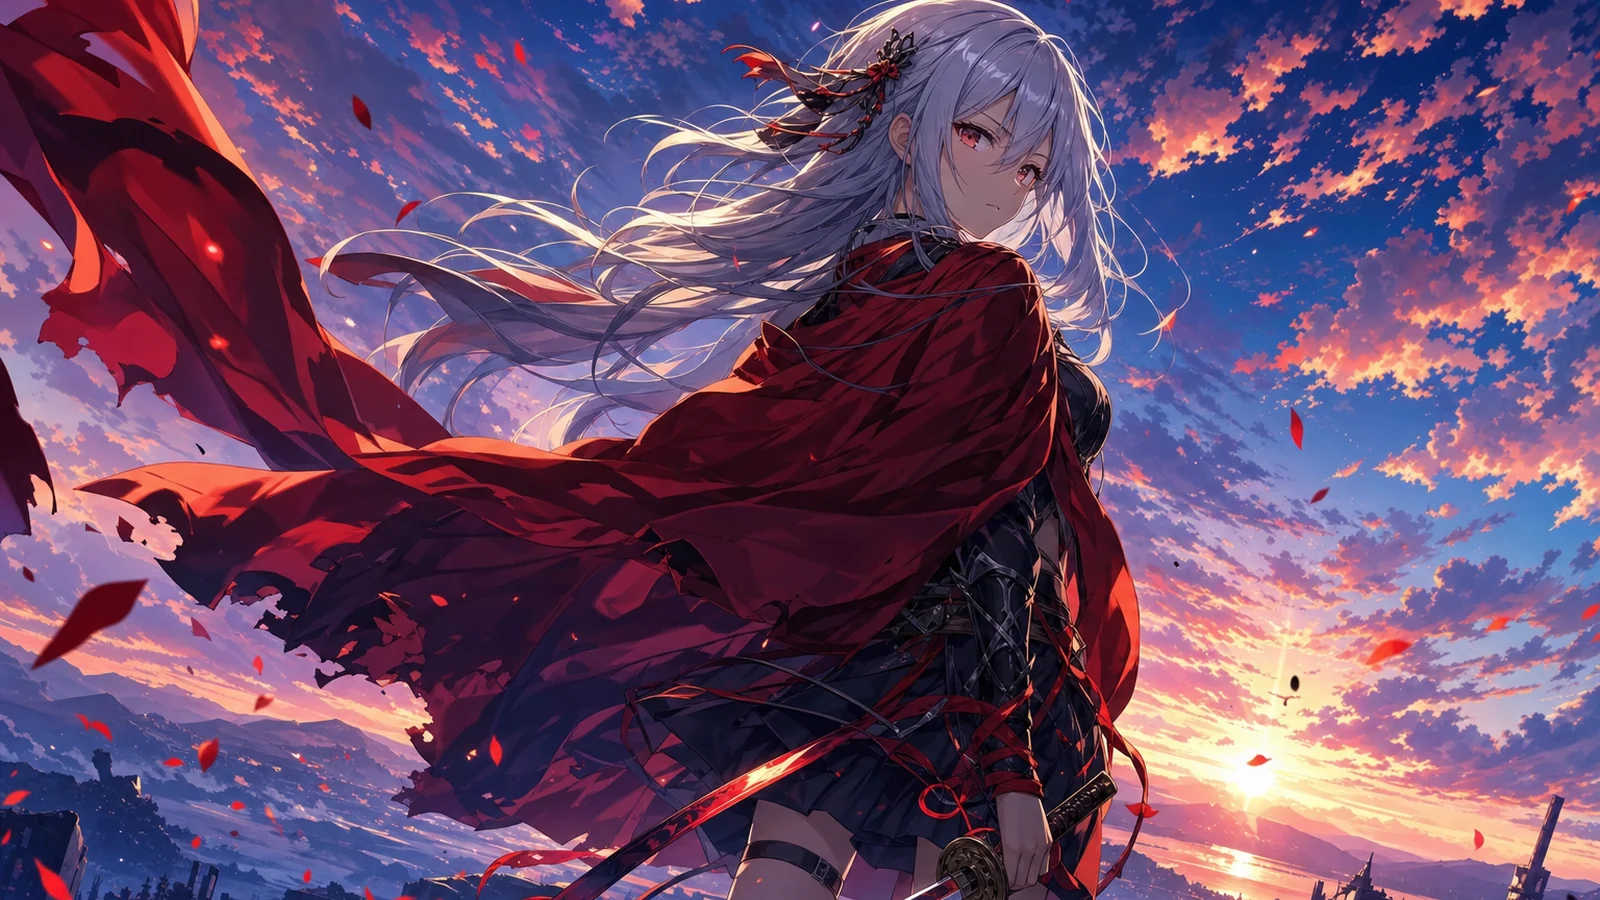
- Generated images — animate an AI-made character or creature into a clip.
Tips for better photo-to-video
- Input quality is everything. Sharp, well-lit photos animate cleanly; bad inputs distort.
- One motion at a time. “Slow zoom” beats “zoom, pan and the person dances.”
- Keep it short. 3–6 seconds loops better and warps less than long clips.
- Match the model to the subject. Realistic models for faces and products; stylised for creative work.
- Iterate on the motion, not the photo. If it’s off, change the movement description and rerun.
Mistakes to avoid
- Animating a blurry photo. Garbage in, garbage out — start sharp.
- Asking for too much motion. Big, complex movement is where faces and hands break.
- Running watermarked clips commercially. Upgrade before you use it for a brand or product.
- Judging on one take. Always run a couple of variants and keep the best.
FAQ
What is the best AI to turn a photo into a video? Tools with a dedicated image-to-video feature and multiple models. Deevid AI is a common pick because it animates your real photo and offers several models in one place.
Is photo to video AI free? You can test it free on most tools, but output is usually watermarked and capped. Clean, watermark-free, commercial clips require a paid plan (from around $10/month).
Can I animate old photos? Yes — upload the old photo and add a subtle motion like a gentle zoom or a slight head turn. It’s one of the most popular uses of photo-to-video.
How long can the video be? Each generation is a short clip (a few seconds). For longer pieces, animate several photos and edit the clips together.
Photo-to-video AI is the shortcut from “I have an image” to “I have a video,” with you keeping control of the subject and the AI handling the motion. Start with a clean photo, ask for one believable movement, and test on the free credits before you commit — then bring your photos, old and new, to life.