Most “beginner guides” to Deevid AI are the same three-minute read: sign up, click Text-to-Video, type a prompt, hit Create. That will work. It will also produce a mediocre first render and leave you with no idea why the next one should be better.
This guide is the other kind. No screenshots of the signup page. Instead, the mental model: what Deevid is actually doing under the hood, how credits actually work, which of the 14+ models to pick when, and the five mistakes that make 80% of beginner output worse than it should be.
If you just want the 30-minute hands-on walkthrough, skip to the getting started tutorial. Everything below is the framework that walkthrough assumes you understand.
What Deevid actually is (and isn’t)
Deevid AI is not a single AI model. This is the first thing most people get wrong.
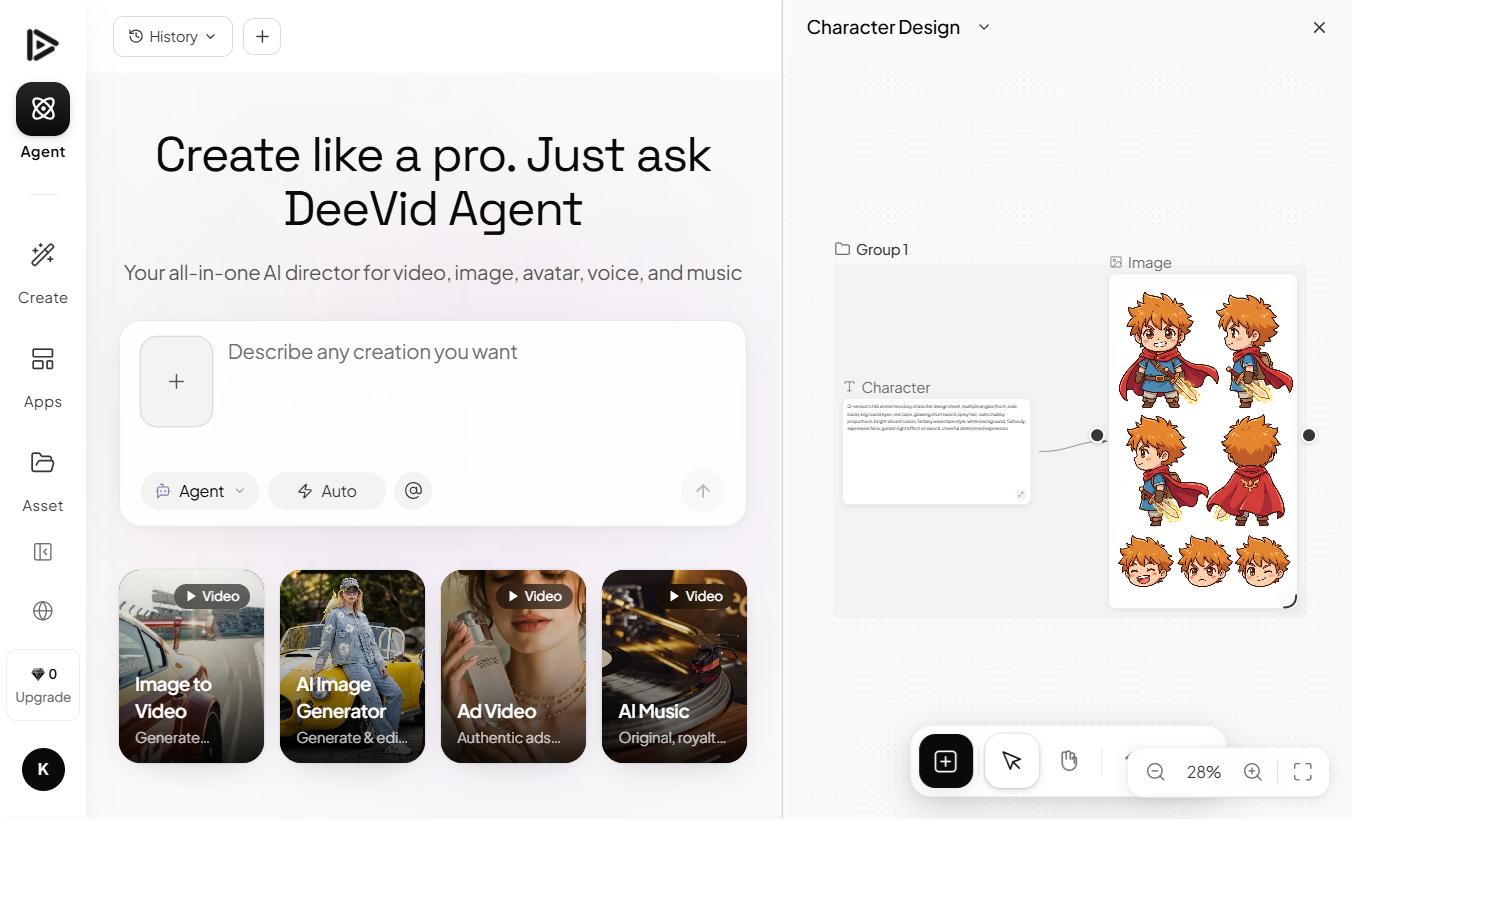
Deevid is a router and bundle: a single interface that sits in front of 14+ frontier video generation models. When you type a prompt and click generate, Deevid passes your request to whichever model you’ve picked: Sora 2 from OpenAI, Veo 3.1 from Google, Kling from Kuaishou, Pika, Runway, Haiper, and eight or nine others depending on the month.
Why this matters for beginners: the quality of your output is not determined by “how good Deevid is.” It’s determined by which model you picked and how well you prompted it. Every output is really an output of one of the bundled models, wearing a Deevid UI.
Most beginner frustration comes from not understanding this. They assume “Deevid” is the quality bar. The real quality bar is Sora 2 if you picked Sora 2, or Kling if you picked Kling. They produce different things.

How credits actually work (the only math you need)
Every paid Deevid plan gives you a monthly credit budget. Every generation burns credits. The economics are simple once you see the numbers.
| Tier | Monthly cost | Credits | Rough videos/month |
|---|---|---|---|
| Free | $0 (one-time) | 20 (non-renewing) | 4 |
| Lite | $10 | 200 | 40 |
| Pro | $25 | 600 | 120 |
| Premium | $119 | 3,000 | 600 |
One video ≈ 5 credits at default settings. Longer clips and higher-complexity models (Sora 2 at max length, for example) can push 6-8 credits per generation. Image-to-video runs the same economics as text-to-video.
Three practical implications:
- Credits don’t roll over. Unused credits at the end of your billing cycle expire. Don’t let your Pro allocation sit unused: run experiments, test new prompts, iterate on shots from last week.
- Always generate three variants per prompt. One generation is rarely the best. At 5 credits × 3 = 15 credits per “winner”, your 600-credit Pro tier gives you roughly 40 finished shots per month. That’s a realistic production budget.
- Don’t use Premium tier models on throwaway tests. If you’re exploring a new idea, run it on Kling or Pika (cheaper models, faster renders) before burning credits on Sora 2 for the hero shot.
Which model to pick when
This is the second big gap in most beginner guides. They tell you Deevid has “14+ models” and move on. You need an opinion on which model to use for what.
Here’s the working framework:
Cinematic / narrative shots → Sora 2 or Veo 3.1
Use Sora 2 when physics matters (things falling, water, hair moving, depth of field). Sora’s physics simulation is the category leader in 2026. Use Veo 3.1 when you want a slightly more “Google Films” aesthetic, natural color grading, slightly warmer defaults.
Credit cost: higher end of the range. Reserve for hero shots.
Action / motion-heavy → Kling
Kling is the strongest model for action, fast camera moves, and dynamic scenes. Veo tends to smooth motion out; Sora sometimes adds artifacts on quick moves; Kling holds up under speed. Good default for dance, sports, chase-style shots.
Fast iterations / social content → Pika
Pika renders faster than most of the other bundled models and tends to hit social-content vibes (stylized, slightly punchy, not overly cinematic) without much prompt engineering. Use Pika when you’re producing volume and visual originality matters less than throughput.
Product shots / still-image-to-motion → Runway or Kling
Runway’s image-to-video is polished and consistent, the motion it adds to a still product shot usually feels natural rather than uncanny. Kling is the backup if Runway drifts on your specific product.
Abstract / motion graphics → Haiper, Seedance, or the smaller specialist models
Deevid bundles several smaller models tuned for abstract, stylized, or motion-graphic work. These rarely win for photo-real video but shine for brand loops, title cards, and logo reveals.
The meta-rule: when in doubt, run the same prompt through 2-3 models and compare. At 5 credits each, you’ve spent 15 credits to learn which model fits your style. That’s $0.75 on Pro tier. Cheap tuition.
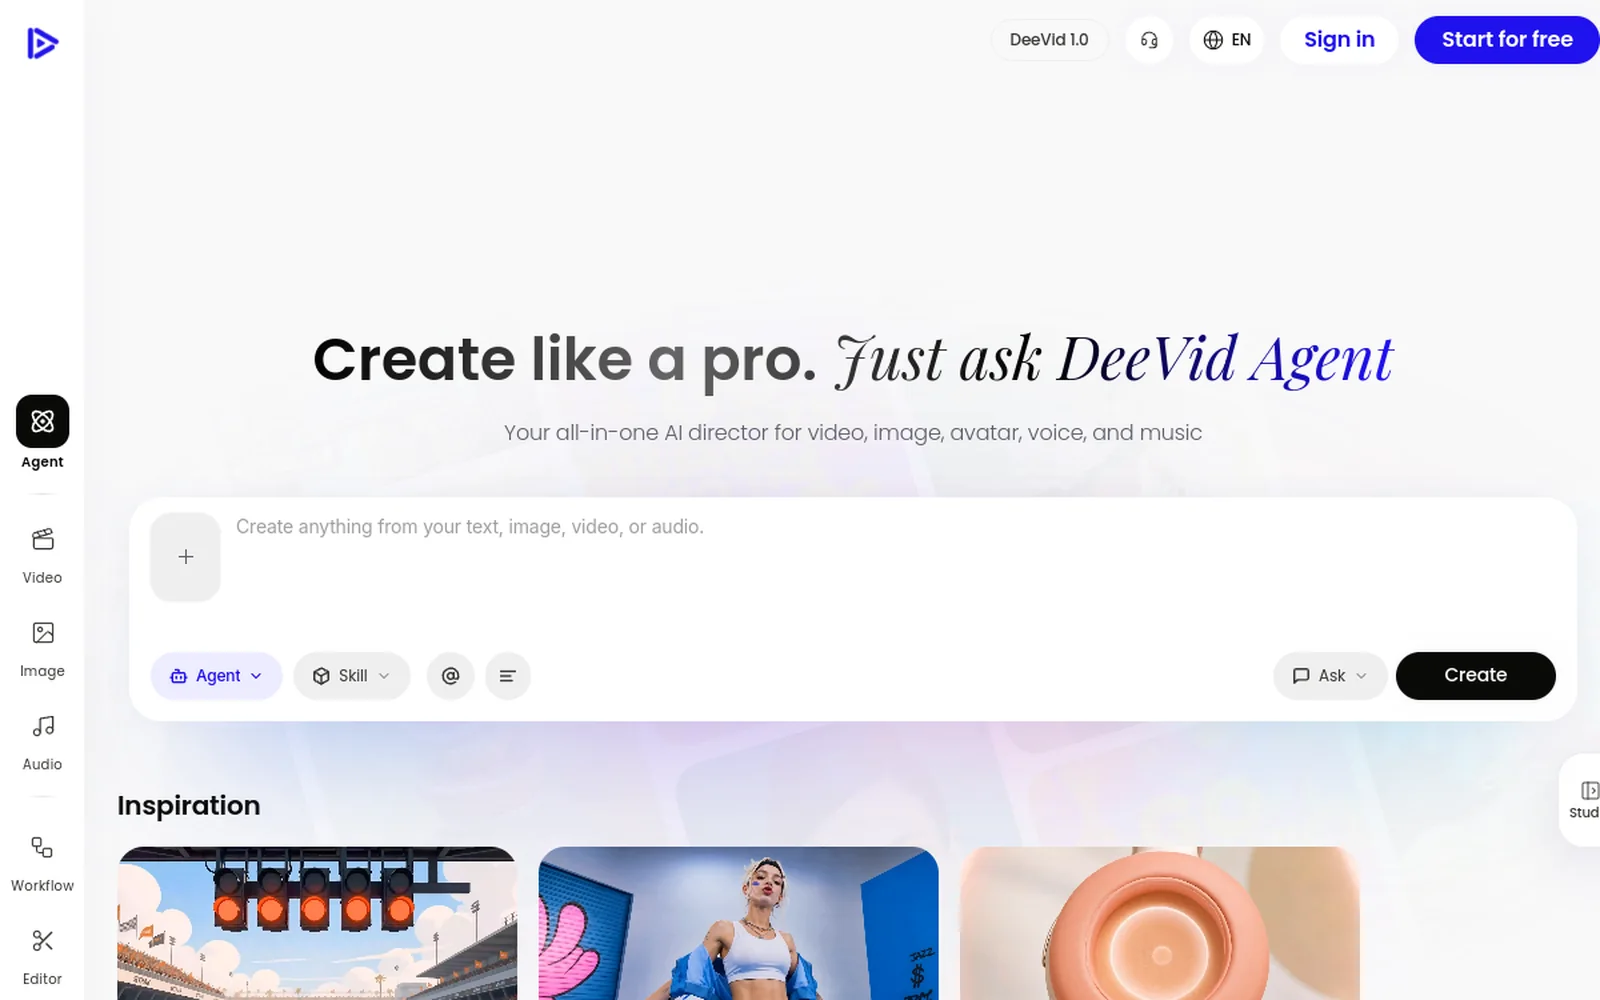
Test the framework on 20 free credits Apply the model-selection framework above on Deevid AI’s free tier, 20 credits, no credit card. You’ll know within 4 generations whether the bundle fits your style.
The prompt structure (in one paragraph)
Every prompt in Deevid, across every model, follows a five-part skeleton. Miss any of the five and the model’s defaults will fill it in for you, rarely the way you’d want.
[subject] [action] in [setting],
[lighting / mood],
[camera move / lens],
[motion detail],
[duration]
Example, bad: “A coffee cup on a table.”
Example, good: “A ceramic coffee cup rotates slowly on a walnut table, soft morning light from the left, 35mm lens, shallow depth of field, gentle steam rising from the surface, 8 seconds.”
The second prompt is roughly 7× more likely to produce a publishable first render. Not because the AI is smarter, because you gave it seven more decisions to latch onto.
If you want the full library of tested prompts, we publish 37 production-grade templates you can substitute your subject into.
Prefer to watch? Here’s Deevid AI’s official product walkthrough:
The 5 mistakes every beginner makes
After running hundreds of test generations and watching dozens of creators start out, these are the ones that come up every time.
Mistake 1: Running one generation and judging the tool
Every AI video model produces meaningful variance between seeds. Your first render is almost never the best. Professional workflow: always request three variants per prompt. The winner is usually the second or third. Judging Deevid on a single output is judging a casino by one spin.
Mistake 2: Trusting the prompt enhancer on strong prompts
Deevid has a “prompt enhancer” that rewrites weak prompts into better ones. It’s designed for vague inputs like “a cat running.” On those, it’s a lifesaver. But if you’ve already written a tight five-part prompt, the enhancer will usually add camera specs, mood words, or style tags you didn’t want. Turn it off for any prompt you actually thought about.
Mistake 3: Going straight to Sora 2 for everything
Sora 2 is the most expensive model in the bundle, credit-wise. Beginners gravitate to it because it’s the one they’ve heard of. This burns credits fast and, counterintuitively, often produces worse output than Kling or Pika for certain styles (action, stylized, quick iterations). Match the model to the shot, not to brand recognition.
Mistake 4: Skipping image-to-video
Image-to-video is Deevid’s sneakiest unlock. Upload a product photo, a still landscape, or a reference you shot, and describe the motion you want added to it. The model has to invent far less than it does on text-to-video, so the output is dramatically more predictable. Most beginners never touch this feature. It’s where the paid plan earns itself back fastest.
Mistake 5: Not locking characters when you should
If your project involves a consistent character across multiple shots, use Deevid’s character consistency feature from the very first generation. Trying to bolt consistency on later (by re-prompting with identical descriptors) works sometimes but fails often. Build the character reference first, then generate against it.
What to expect in your first 30 days
Here’s the honest arc most creators go through. Knowing it in advance will save you two weeks of the “am I doing this wrong?” phase.
Days 1-3. You’ll run your first 10-20 generations, get 2 or 3 outputs you think are amazing, and 15 that are forgettable. This is normal. You’re learning what your prompts are missing.
Days 4-10. You’ll pick a “home model”, usually Kling or Sora 2, and stick with it. You’ll refine one or two prompt templates that work for you. Your hit rate (publishable shots per generation) will climb from ~20% to ~50%.
Days 11-20. You’ll start experimenting with image-to-video, character consistency, and mixing models (hero shot in Sora, cutaways in Pika). This is where Deevid’s bundle story actually pays off, you stop thinking “which AI tool” and start thinking “which model for this shot.”
Days 20-30. You’ll develop an opinion on each model’s strengths. You’ll have a short personal library of 5-10 prompts you trust. Your hit rate will stabilize at 60-70%. You’ll stop blaming the tool when a render is bad and start debugging the prompt.
If after 30 days you’re still getting under 20% hit rate, the issue is almost never Deevid. It’s either (a) your prompts are still missing parts of the five-element structure, (b) you’re using the wrong model for your style, or (c) your style doesn’t map well to any current generative model, in which case Deevid probably isn’t the right tool and no amount of paid tier will fix it.
Skip the learning curve: start generating today You’ve read the framework. The only thing left is running your first prompts. 20 free credits, no card, straight into the dashboard.
What comes after generation
One honest note: Deevid generates raw clips. It’s not an editor. For 90% of work, you’ll want two more tools in your stack.
- Submagic for automatic subtitles and captions. Deevid doesn’t do this natively and it’s a non-negotiable for social content in 2026.
- Filmora (or CapCut, Premiere, DaVinci: whichever you know) for timeline editing, audio mixing, and final color. Deevid is the generation step; one of these is the assembly step.
If you’re producing voice-led content (explainers, tutorials, narration), consider Syllaby for script and content planning before you open Deevid. Most creators waste their first hour generating shots for a script they haven’t finalized.
Build your post-Deevid stack Captions with Submagic, editing with Filmora. Both are category leaders and both ship a free tier to test.
Where to go next
If this guide made sense, here’s the recommended path through the rest of the site:
- Your first 30 minutes with Deevid AI: hands-on walkthrough from signup to first publishable clip.
- 37 tested prompts: the templates we actually use on client work. Save this one.
- Deevid AI free credits: what you actually get: the 4-shot test plan to run on your 20 signup credits.
- Character consistency tutorial: when multi-shot work requires the same character every time.
- Prompt guide: the deep dive on prompt craft, one level below this beginner guide.
- Is Deevid AI worth it?: the honest value verdict, who should buy and who shouldn’t.
- Is Deevid AI legit & safe?: the trust question answered, with the billing risks to plan around.
- Our full 30-day Deevid AI review: if you want the complete pros and cons before committing.
And if you haven’t yet: claim your 20 free credits. No credit card, no subscription trap. The point of the free tier is to tell you whether Deevid fits your work before you spend a dollar.
If you’ve got questions this guide didn’t answer, the full review probably covers them. And if you’re trying to decide between Deevid and another tool, our alternatives hub has 10 hands-on comparisons.